 Contact Us
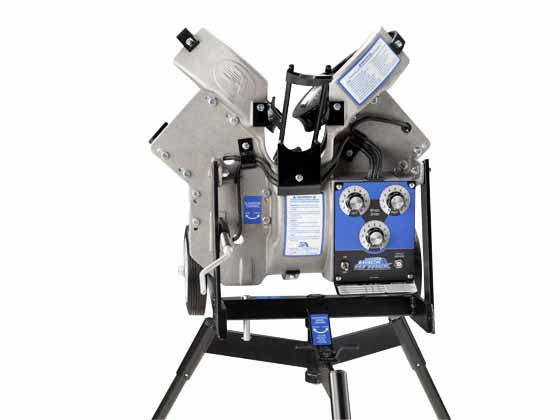

You are considering setting up a batting cage in your backyard but are unsure whether to build one from scratch or purchase a batting cage and assemble it in your yard. You're also considering the space constraints, style, and other accessories to add - a batter's box, an L-screen, or even a pitching machine.
Well, we've done the heavy lifting for you! In this article, we will review six (6) of our favorite customers' backyard batting cage build-outs, which may inspire your future build. We have also included options for small spaces and a budget.
6 Backyard Batting Cages for Inspiration
The batting cages we feature in this post range from inexpensive build-outs (less than $1,000) for youth players to high-end quality batting cages complete with all the bells and whistles ($10,000). Without further ado, let's see some of our favorite customers' backyard batting cage build-outs!
1. Marc's 26 ft. Custom Backyard Batting Cage
Our first and favorite build-out is from one of our customers, Marc.
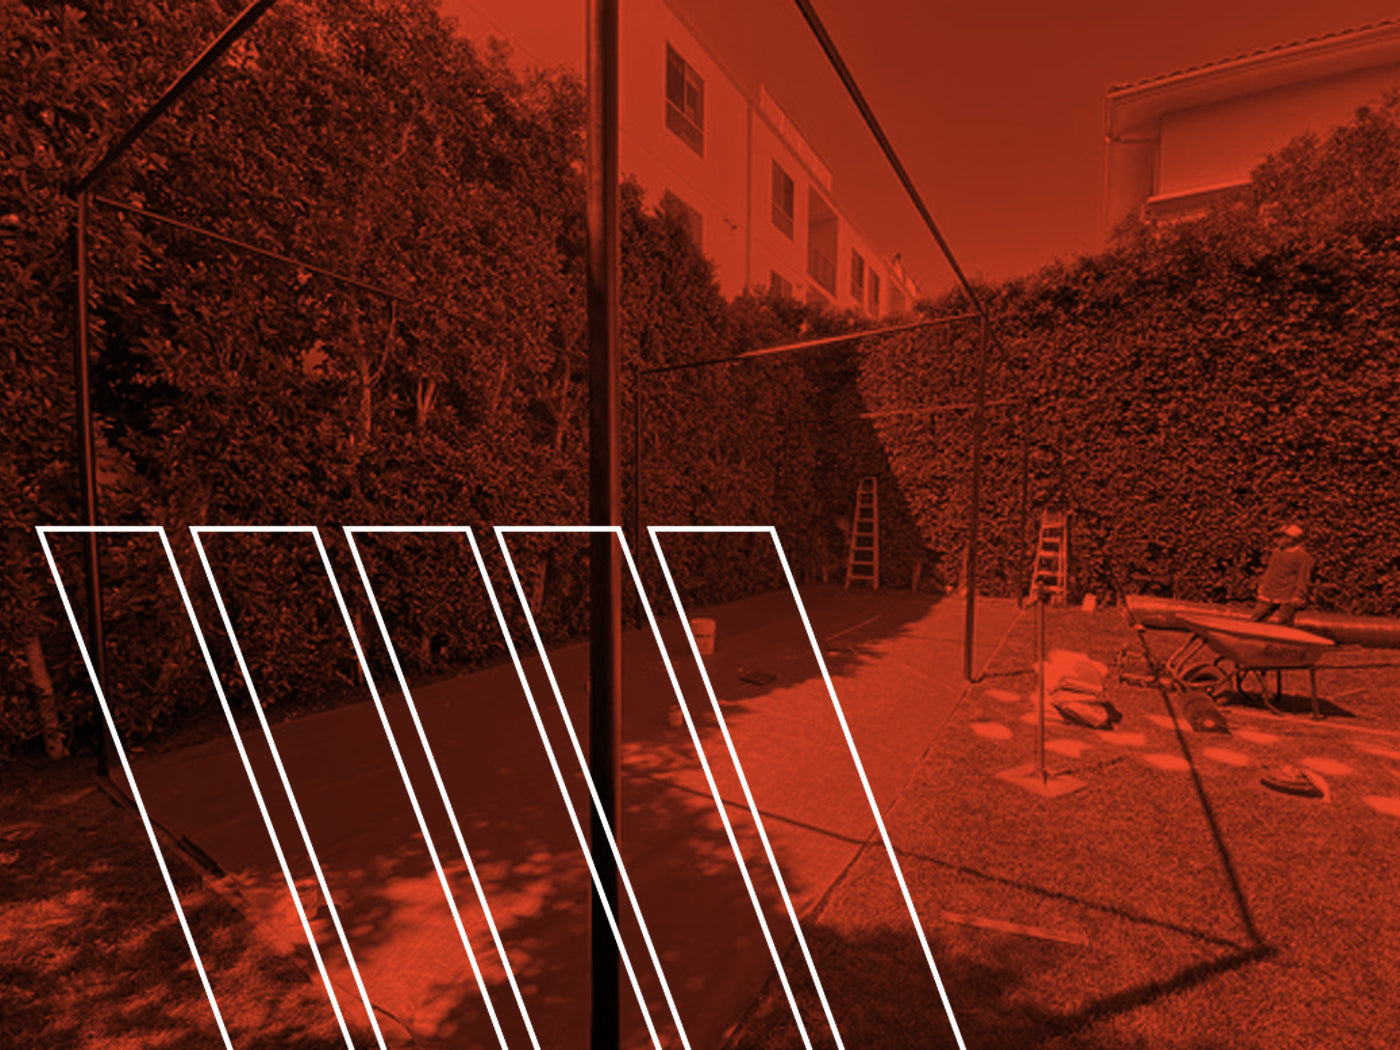
Marc needed a place for his kids to play ball and work on their swing during the pandemic, so he built a batting cage in his backyard. To make room for it, he had to remove the existing gazebo and fireplace before digging out holes for the support beams and pouring concrete. See how it looked before:

How it looks after setting up the pole:

Then, he leveled the ground, installed the cage, and installed a 450-watt flood light so his kids could play anytime! Oh, and did we mention that they live in sunny Southern California? Installing a flood light means they can train year-round!
Check out Marc's backyard batting cage below:

The cage itself is a DIY batting cage. Marc purchased the poles separately and installed them, and then he hung a #42 net from the poles, creating an awesome and sturdy structure! This cage is an estimated 36' L x 15' W.

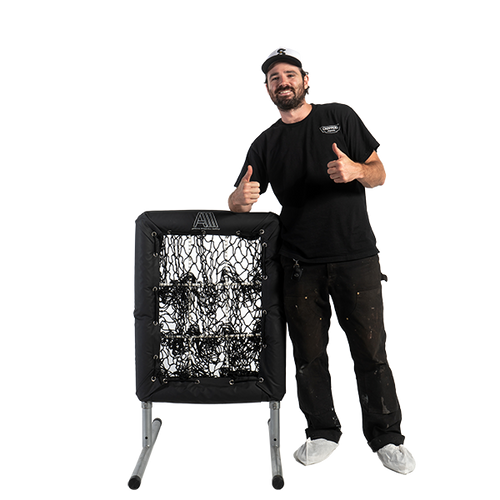
Feeling inspired to build a batting cage like Marc's? These are the products he has set up in his cage:
Transform your outdoor space into a mini ballpark by exploring our range of backyard batting cages that offer quality and style.
2. Bryan's 26' Backyard Power Alley
Next on our list is Bryan's backyard batting cage. Originally, Bryan built a DIY 12' x 26' batting cage out of old chain-link fencing, using a canvas tarp as a backstop (very intuitive!) and a Jugs soft toss machine. However, a hurricane hit his town, leaving the DIY batting cage in ruins.
Then, he opted to purchase the Heater Sports Power Alley 22 ft. backyard batting cage from our website. In the picture below, you can see his new batting cage setup with a batting tee, throw-down home plate, and the Jugs Soft Toss machine. Not a bad way to practice!

We almost forgot to mention that Bryan's son made the All-Star team this past year (after breaking four wooden bats)! Having a batting cage sure makes a difference, right?
Like Bryan's backyard setup? Here's a list of the products used in his batting cage:
3. Matt's Backyard Xtender Batting Cage
Next up is Matt's backyard batting cage. One thing we love about this setup is how simple yet effective it is. He purchased the 24' Xtender batting cage and the Basehit pitching machine to give his kids what they need for a consistent practice session.
Here's a quick backstory.
Matt works as an aviation rescue swimmer for the United States Navy, and he firmly believes in hard work and putting in practice at anything you do. He wanted to teach these values to his children, so he built a backyard batting cage where they were able to put in consistent practice.

Thanks for sharing your batting cage setup, Matt! And thank you for your service! 🇺🇸
Another thing we love about Matt's setup is the simplicity of the Heater Sports Basehit pitching machine. He told us that when he is out on deployment, his wife can easily operate the pitching machine and help get the kids the practice they need.

Now, his son is switch-hitting and has taken up catching, while his daughter (sometimes) gets in the cage to practice, too! Check out Matt's batting cage setup!

Like Matt's backyard batting cage setup? Check out which products he's using in his cage:
For the little sluggers, shop specially designed batting cages for kids crafted for safe and engaging play.
4. Charlie's Baseball Barn
Next up is the (very) unique batting cage setup from Charlie!
Charlie converted his 80-foot barn into a DIY batting cage facility. He equipped it with turf, netting, L-screens, pitching machines, and other equipment to create a place for kids in his area to train.

Charlie told us that 12 local baseball teams, from ages 8u-17u, use the Baseball Barn to train. The accessibility of the Baseball Barn to these teams is pretty extraordinary, considering that Charlie built and paid for this himself! We applaud Charlie and people like him who give back to their local communities and the sport of Baseball. Thank you, Charlie!
Check out Charlie's DIY Batting Cage / Baseball Barn:


Like Charlie's Baseball Barn? These are the products he used to build out his batting cage setup.
-
Tanner Baseball Tee
-
Atec M2 Pitching Machine
5. Tony's Backyard Turf DIY Batting Cage
Next up is Tony's DIY backyard batting cage. We love that even with a space constraint, he found a way to fit in a nice-sized batting cage by setting up his own DIY batting cage with poles, netting, and turf. Awesome!

Looking closely, you can see where he painted a DIY batter's box, threw down a home plate mat, and put a rubber backstop to protect his netting, all while creating a strike zone. Very innovative, Tony!
Take a look:

Do you like Tony's batting cage setup? These are the products he used to build it!
-
DIY Rubber Backstop - Similar to this rubber backstop
6. Chris's Lakeside 70' Batting Cage
The best is always saved for the last!
This batting cage is one of the coolest we've (ever) seen – thumbs up, Chris! He really knocked it out of the park with this one. This is not just because he picked the best batting cage (Mastodon batting cage, Hack Attack pitching machine, etc.) but also because of the view and that custom bench in front of the batting cage. Check it out:

Based on the pictures they sent over to us, it doesn't look like they were limited on space, so they did it right and went with a 12' H x 14' W x 70' L Mastadon batting cage.

This backyard batting cage is perfect for Chris's two sons, ages 14 and 15, and their teammates! Sometimes, their varsity teammates will even crank up the Hack Attack pitching machine to 90 mph and get in some reps.

The only thing missing is a roof for that bad winter weather!
To build out this ultimate backyard batting cage, purchase the following products:
Step-by-Step Guide to Building Your Own DIY Backyard Batting Cage
Here is a simple guide to building your backyard batting cage:
Step 1: Measure and Mark the Space
Determine the cage's length, width, and height based on your backyard's dimensions and training needs. Mark the designated area with stakes, a chalk reel, and spray paint.
Step 2: Install the Frame Posts
Using an auger, dig post holes at equal intervals. Then, secure 4x4x12 pressure-treated wood or steel poles in the holes with concrete. Finally, allow the concrete to set fully.
Step 3: Attach the Frame Structure
Use 2x6 runners and cross boards to connect frame posts (if using wood). For steel, follow manufacturer recommendations to assemble and reinforce the frame.
Step 4: Secure the Netting
Drape heavy-duty netting over the frame, ensuring it covers all sides. Use turnbuckles and structural screws to tighten and secure the net to prevent sagging or gaps.
Step 5: Add Accessories
Based on your training setup, set up a turf batter's box, safety screens, or pitching machines. Ensure all components fit within the cage for efficient movement during practice.
Read more: How to set up a backyard batting cage (step-by-step guide).
What is the best material for a batting cage?
The best material depends on the netting material and frame. Let's cover it in detail:
Netting Material Options
-
HDPE (High-Density Polyethylene):
HDPE offers excellent strength and weather resistance. It's lightweight, resistant to UV rays and moisture, and works well for outdoor setups. This material is also budget-friendly, making it a preferred choice for many backyard batting cages.
-
Nylon:
Nylon netting is strong and resilient, particularly in knotted designs. It's ideal for high-impact environments like professional use or indoor cages. Nylon nets can also withstand outdoor use if UV-treated but tend to fall in a mid-to-high price range. Keep your practice area secure with our selection of durable batting cage nets engineered for performance.
-
Twine Size:
Opt for a higher twine gauge for better durability, particularly with frequent or high-impact training.
Frame Material
Use galvanized steel or powder-coated materials for a sturdy frame that will withstand weather and frequent use. Galvanized steel resists rust, and can prolong the lifespan of your cage. Lightweight frames like aluminum are suitable for portability but less durable for heavy-duty practice.
How Much Space Do You Need?
Standard backyard batting cages range from 35 to 70 feet in length and 10 to 14 feet in width. To accommodate a batter, pitching machine, and safety gear, ensure the space supports these dimensions.
A 35-foot cage works well for smaller yards. Larger areas can support setups up to 70 feet, offering practice closer to professional standards. Leave additional clearance for free movement, especially around the batter's box and pitcher's area.
If horizontal space is limited, adjust cage widths or lengths without compromising the essential functionalities.
Not sure which setup suits your space? Read our detailed indoor vs outdoor batting cages guide for expert insights.
Permanent or Portable Batting Cage?
The type of batting cage you choose depends on your usage frequency and available storage options. Permanent cages are built using anchored steel frames for a long-term solution. You can add extra features such as roof attachments for weather protection, side barriers for added safety, and turf flooring for a professional feel.
On the other hand, portable batting cages are lightweight, easy to assemble, and can be moved or stored when not in use. They're ideal for those with limited space or who need flexibility in their training setup.
How to Maintain Your Backyard Batting Cage
-
Use a soft brush or cloth to remove accumulated dirt, debris, and pollen from the netting.
-
If the netting is heavily soiled, gently rinse it with a garden hose. Avoid high-pressure water that could damage the fibers.
-
Allow the net to air dry completely before use to prevent mold or mildew growth.
-
For UV-treated nets, keep them away from direct sunlight when not in use.
-
Store nets indoors during off-season or severe weather if they're detachable, extending their lifespan.
-
Inspect connection points, like clips or carabiners, for signs of rust or weakening. Replace them as necessary to maintain net tension and prevent sagging.
How Often Should You Inspect Your Cage?
Conduct inspections at least once every month. Check netting for holes, tears, or loose stitching that may compromise safety or training quality.
Also:
-
Examine frames for rust, cracks, or bent sections, especially in galvanized or aluminum materials.
-
Tighten bolts, screws, and other fasteners to ensure the structure remains stable under use.
-
For setups with pitching machines or accessories, test their functionality and look for fraying cables or malfunctioning parts.
-
After extreme weather, inspect thoroughly for structural damage or weakened materials caused by wind or moisture.
These routine checks prevent minor issues from escalating into costly repairs.
Conclusion
We've highlighted six inspiring backyard batting cage setups to spark ideas for your build. Now it's your turn! Take these insights, customize your cage, and create the ultimate practice spot right at home. With the right setup, you'll hit better, train smarter, and make the most of every swing.